Introduction:
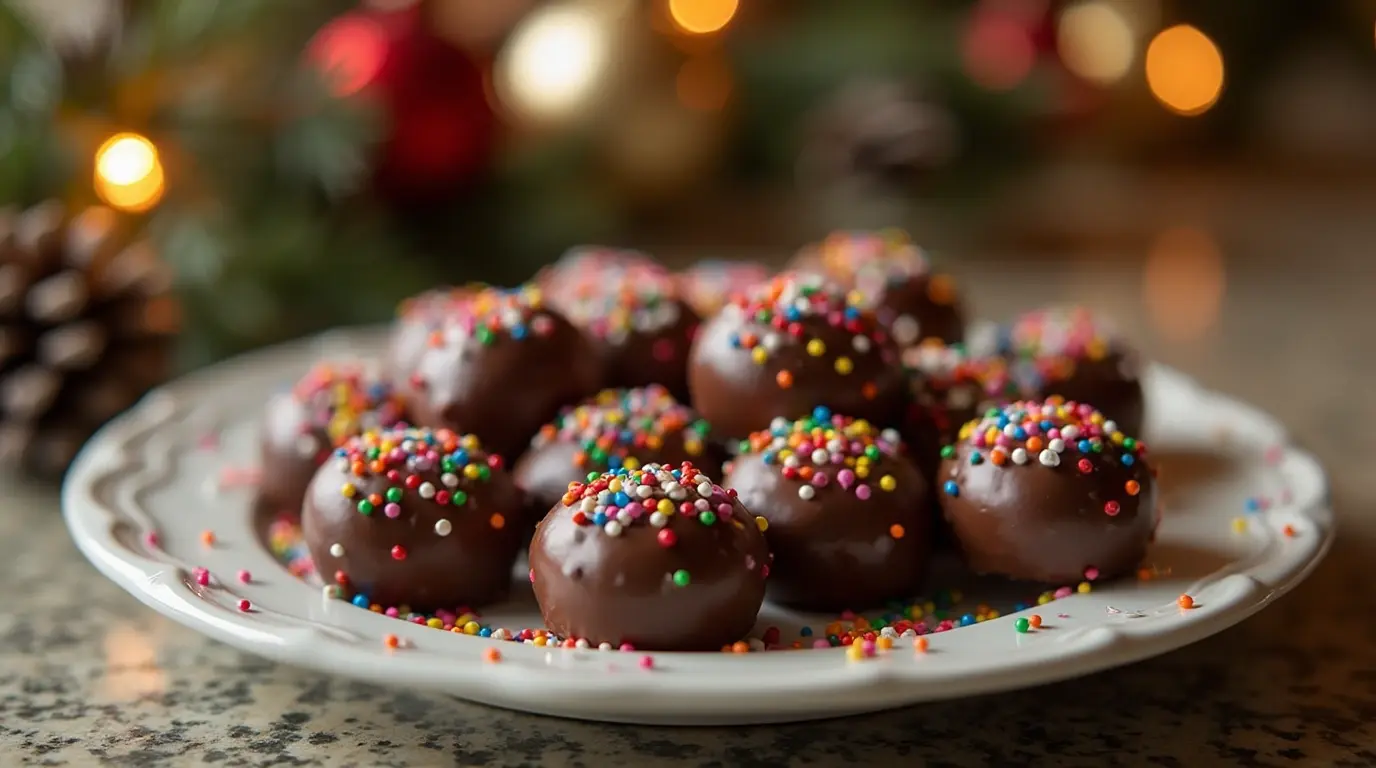
Butterfinger Balls bring the crispy, peanut buttery flavor of Butterfinger candy into a fun, homemade snack. You can create these sweet treats quickly and easily, and they are perfect for any occasion.
These no-bake bites offer a simple way to satisfy your dessert cravings. You only need a few ingredients to mix, shape, and coat them in chocolate. Their small size makes them great for sharing at parties, holidays, or as an afternoon snack.
This guide will show you every step, share helpful tips, and provide fun ideas to customize your Butterfinger Balls. Let’s jump in and start creating these delicious bites today!
Ingredients Needed:
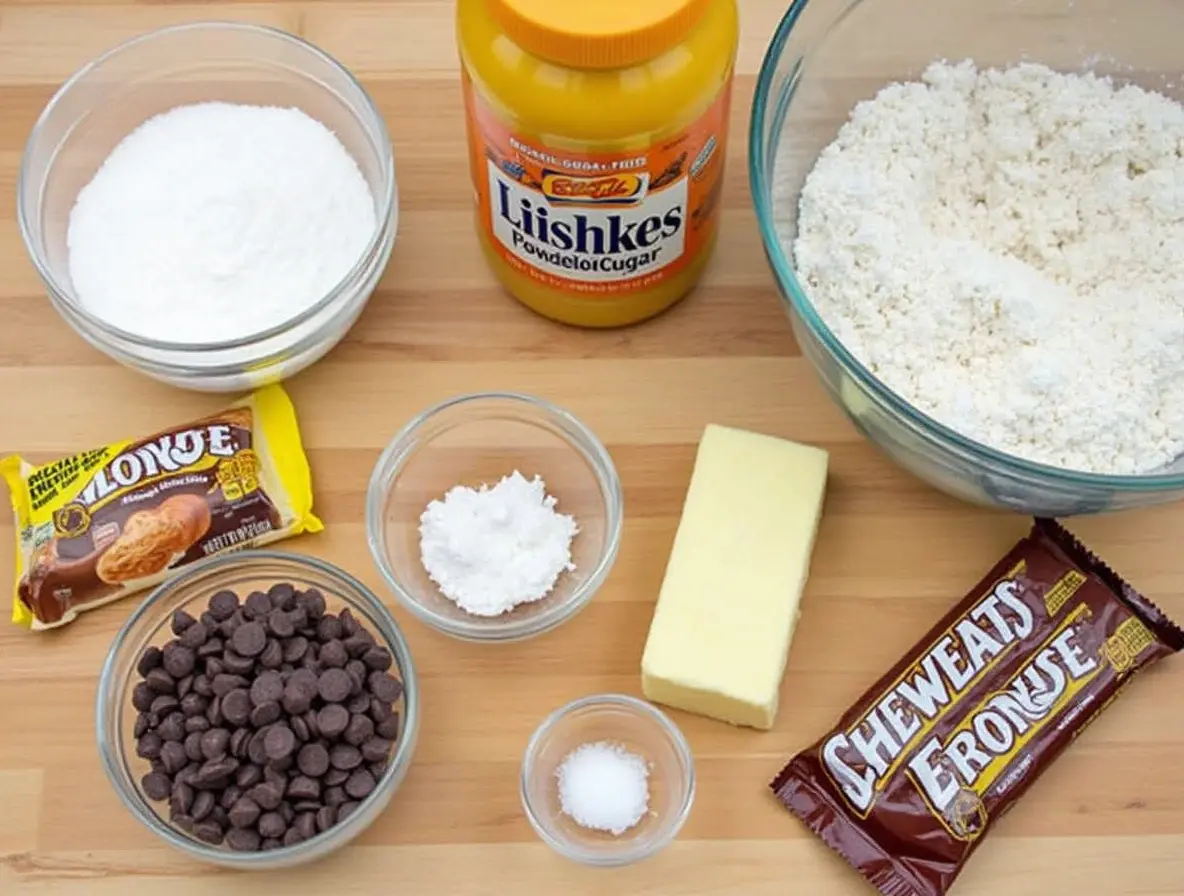
To make Butterfinger Balls, you only need a few simple ingredients. These items are easy to find, and with the right combination, you can achieve that signature Butterfinger taste and texture.
Key Ingredients:
- Butterfinger Candy Bars
- These candy bars are the star of the recipe. Crush them into small pieces to create the crispy, peanut buttery base for your Butterfinger Balls. You can use full-size bars or miniatures, depending on what’s available.
- Creamy Peanut Butter
- Peanut butter holds the mixture together and enhances the flavor. Make sure to use creamy peanut butter for a smooth texture. Natural peanut butter works too, but you may need to adjust the amount to get the right consistency.
- Powdered Sugar
- This ingredient adds sweetness and helps bind the mixture. It also keeps the balls firm and easy to shape.
- Butter
- Softened butter gives the mixture a rich, smooth texture. Use unsalted butter to avoid making the balls too salty.
- Chocolate Chips or Melting Chocolate
- For the coating, you’ll need chocolate chips or melting chocolate. Semi-sweet or milk chocolate works best, but dark chocolate is a great option for those who prefer a richer taste.
Optional Add-Ons:
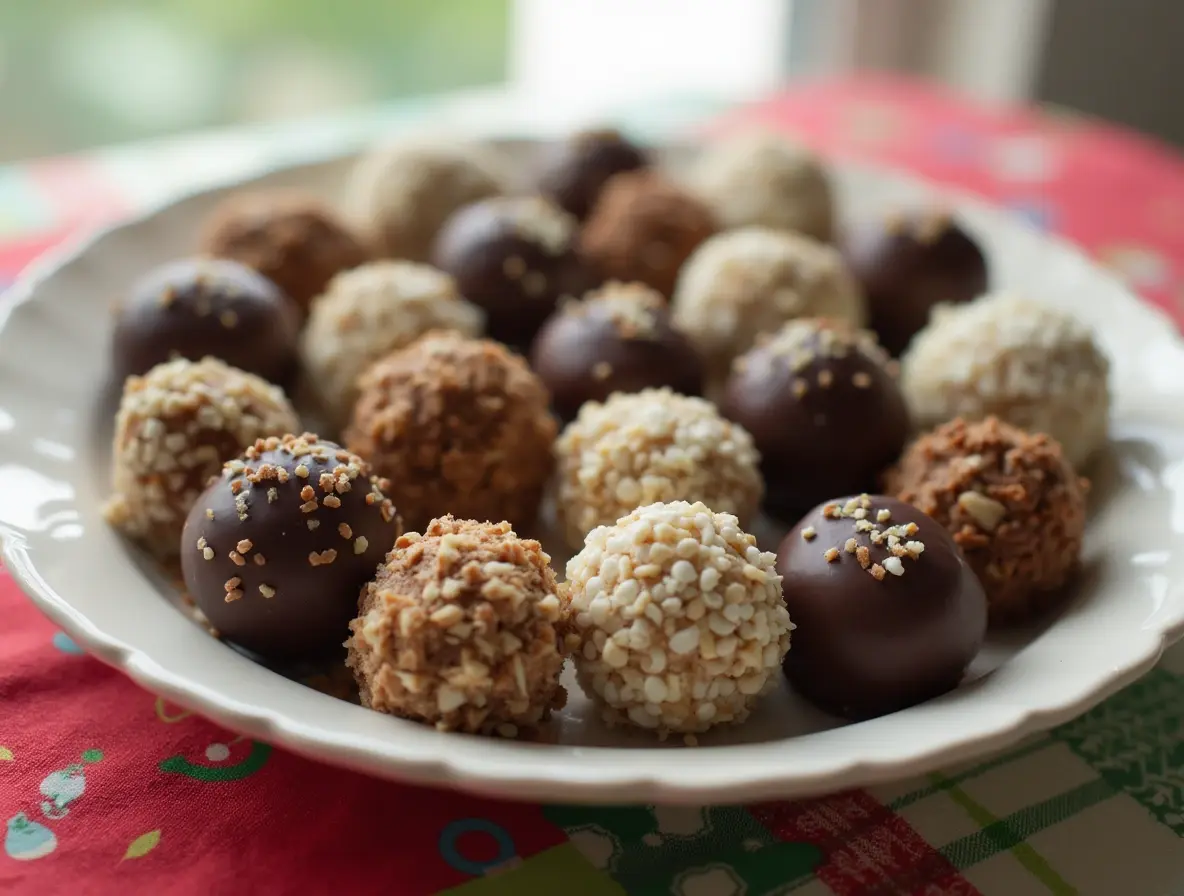
- Sprinkles or Crushed Nuts: Add a fun, decorative touch to your Butterfinger Balls by rolling them in sprinkles or crushed nuts before the chocolate hardens.
- Sea Salt: A pinch of flaky sea salt can balance the sweetness and enhance the flavors.
- White Chocolate Drizzle: Use melted white chocolate to add a decorative drizzle on top for an extra fancy look.
Ingredient Substitutions:
- Allergy-Friendly Options
- For peanut allergies, substitute peanut butter with almond butter, sunflower seed butter, or a nut-free alternative.
- Sugar-Free Version
- Replace powdered sugar with a sugar-free sweetener like powdered erythritol to make a low-sugar version.
- Dairy-Free Version
- Swap out the butter and chocolate for dairy-free alternatives to cater to dietary restrictions.
Tips for Choosing the Best Ingredients:
- Freshness Matters: Use fresh Butterfinger candy bars to ensure the best flavor and crunch.
- Room Temperature Ingredients: Make sure your butter and peanut butter are at room temperature to make mixing easier.
- Quality Chocolate: Choose high-quality chocolate for melting to get a smooth and shiny coating.
How to Make Butterfinger Balls:
Now that you have all your ingredients ready, let’s dive into the fun part: making Butterfinger Balls! This recipe is simple, quick, and doesn’t require baking, making it perfect for beginners and experienced bakers alike.
1 – Crush the Butterfinger Candy Bars:
Start by crushing the Butterfinger candy bars into small pieces. You can do this by:
- Placing the bars in a zip-top bag and using a rolling pin to break them into fine crumbs.
- Alternatively, use a food processor for faster results.
Ensure the crumbs are small enough to mix evenly but still retain some crunch.
2 – Prepare the Peanut Butter Mixture:
Next, combine the following in a large mixing bowl:
- 1 cup of creamy peanut butter
- 1/4 cup of softened butter
- 1 cup of powdered sugar
Use a hand mixer or stand mixer to blend these ingredients until the mixture becomes smooth and well combined. Then, gently fold in the crushed Butterfinger pieces. Make sure everything is evenly mixed so each ball has the perfect balance of flavors.
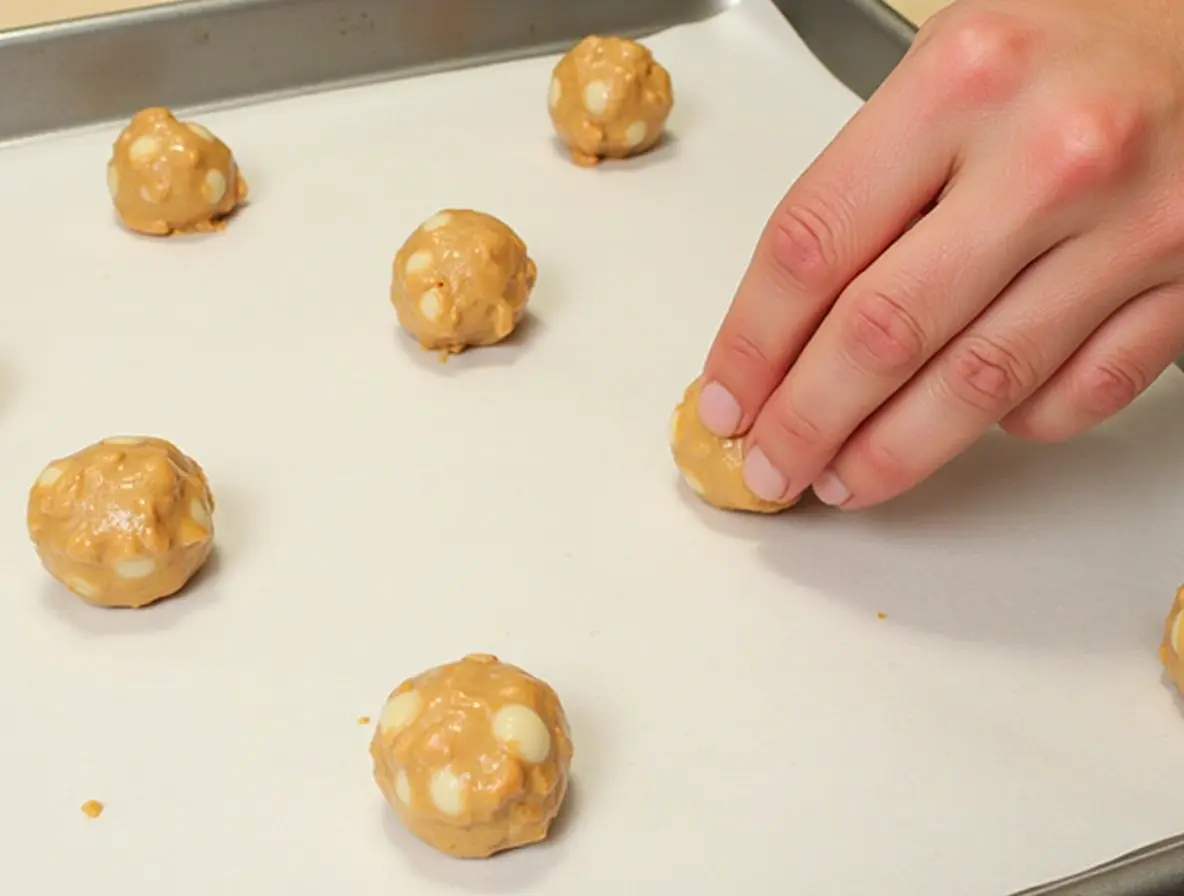
3 – Shape the Mixture into Balls:
Now, scoop small amounts of the mixture (about 1 tablespoon each) and roll them into balls using your hands. If the mixture is too sticky, refrigerate it for 10–15 minutes to make it easier to handle.
Place the rolled balls on a parchment-lined baking sheet, ensuring they don’t touch each other.
4 – Chill the Balls:
Transfer the baking sheet to the refrigerator and let the balls chill for 30 minutes. Chilling helps them firm up, making it easier to coat them in chocolate later.
5 – Melt the Chocolate:
While the balls chill, melt your chocolate. You can do this in two ways:
- Microwave Method: Place chocolate chips or melting chocolate in a microwave-safe bowl. Heat in 30-second intervals, stirring between each, until the chocolate is completely smooth.
- Double Boiler Method: Place a heatproof bowl over a pot of simmering water, making sure the bowl doesn’t touch the water. Stir the chocolate until it melts evenly.
6 – Coat the Butterfinger Balls:
Remove the chilled balls from the refrigerator. Using a fork or skewer, dip each ball into the melted chocolate, ensuring it is fully coated. Gently tap off any excess chocolate, then place the coated ball back onto the parchment-lined baking sheet.
If desired, sprinkle the balls with decorations like sprinkles or crushed nuts before the chocolate hardens.
7 – Let the Chocolate Set:
Finally, allow the chocolate coating to set. You can:
- Leave the balls at room temperature for about an hour.
- Or, place them back in the refrigerator for 15–20 minutes to speed up the process.
8 – Serve and Enjoy:
Your Butterfinger Balls are now ready to serve! Arrange them on a plate or store them in an airtight container. They’re perfect for parties, snacks, or even as a gift.
Tips and Tricks for Perfect Butterfinger Balls:
Creating the perfect Butterfinger Balls is easy with a few helpful tips. These tricks will ensure your treats look great, taste amazing, and stay fresh longer.
1 – Make Crushing Easier:
If you find it difficult to crush Butterfinger candy bars evenly, try freezing them for 10–15 minutes beforehand. The colder texture makes them easier to break into fine crumbs without becoming sticky.
2 – Adjust the Consistency:
Sometimes, the mixture might feel too sticky or too dry:
- If it’s sticky, refrigerate the mixture for a few minutes before shaping.
- If it’s dry, add a little more peanut butter (1 teaspoon at a time) until you reach the right texture.
3 – Use a Cookie Scoop:
To ensure uniform sizes, use a small cookie scoop to portion the mixture before rolling it into balls. This method makes your treats look professional and helps them chill evenly.
4 – Work Quickly with Chocolate:
When dipping the balls in melted chocolate, work quickly to prevent the chocolate from hardening. If it starts to set, reheat it briefly in the microwave or over a double boiler to restore its smooth texture.
5 – Customize with Toppings:
For a creative touch, roll or sprinkle your Butterfinger Balls with various toppings:
- Crushed pretzels for a sweet-and-salty combo.
- Shredded coconut for added texture.
- Mini chocolate chips for an extra dose of chocolate.
6 – Proper Storage:
To keep your Butterfinger Balls fresh, follow these storage guidelines:
- Room Temperature: Store in an airtight container for up to 3 days if the temperature is cool.
- Refrigerator: Keep them in an airtight container for up to 2 weeks.
- Freezer: For longer storage, place the balls in a freezer-safe container and freeze for up to 3 months. Let them thaw at room temperature before serving.
7 – Perfect for Gifting:
Butterfinger Balls make excellent homemade gifts. Arrange them in a decorative box or tin lined with parchment paper, and add a festive ribbon for a thoughtful touch.
Common Mistakes to Avoid:
- Skipping the Chilling Step
- Chilling the balls before dipping them in chocolate is crucial. Without chilling, they may fall apart or lose their shape.
- Overheating the Chocolate
- Be careful not to burn the chocolate when melting it. Use low heat and stir frequently to ensure a smooth consistency.
- Rushing the Process
- While this recipe is quick, take your time to ensure each step is done properly for the best results.
Creative Flavor Variations for Butterfinger Balls:
One of the best things about Butterfinger Balls is how versatile they are. With a few simple tweaks, you can create exciting variations that cater to different tastes or dietary needs. Here are some creative ideas to inspire you.
1 – Dark Chocolate Butterfinger Balls:
For a richer, slightly less sweet version:
- Swap the milk or semi-sweet chocolate coating with dark chocolate (70% cocoa or higher).
- Add a pinch of espresso powder to the melted chocolate for a deeper flavor.
This variation is perfect for those who love a bold, sophisticated treat.
2 – White Chocolate Delight:
If you’re a fan of white chocolate:
- Coat the Butterfinger Balls with melted white chocolate instead of traditional chocolate.
- Add colorful sprinkles or a light drizzle of melted milk chocolate on top for a fun contrast.
This option works wonderfully for themed events, such as baby showers or holiday gatherings.
3 – Crunchy Nut Butterfinger Balls:
For an added crunch:
- Replace creamy peanut butter with crunchy peanut butter to incorporate texture into the mixture.
- Alternatively, roll the balls in crushed nuts like almonds, peanuts, or pecans after dipping them in chocolate.
This twist enhances the texture and pairs beautifully with the candy’s crispiness.
4 – Coconut-Lovers Version:
For a tropical twist:
- Mix in 1/4 cup of shredded coconut into the peanut butter mixture.
- Use toasted coconut flakes as a topping after dipping the balls in chocolate.
This variation offers a delightful blend of flavors and textures, especially for coconut fans.
5 – Salted Caramel Fusion:
Combine salty and sweet flavors with this variation:
- Add a teaspoon of caramel extract to the peanut butter mixture.
- Sprinkle a pinch of flaky sea salt over the chocolate coating before it sets.
This version creates a luxurious treat with layers of flavor in every bite.
6 – Vegan and Allergy-Friendly Butterfinger Balls:
For those with dietary restrictions:
- Use dairy-free chocolate and plant-based butter.
- Replace peanut butter with sunflower seed butter for a nut-free option.
These substitutions allow more people to enjoy this delicious dessert without compromising flavor or texture.
Additional Ideas for Customization:
- Seasonal Themes: Use holiday-colored sprinkles, such as red and green for Christmas or orange and black for Halloween.
- Mix-Ins: Add mini chocolate chips, crushed pretzels, or dried fruit for an extra surprise in every bite.
- Spiced Butterfinger Balls: Sprinkle a dash of cinnamon or pumpkin spice into the mixture for a cozy, seasonal twist.
Healthier Alternatives to Butterfinger Balls:
While Butterfinger Balls are undeniably delicious, you can make a few changes to create a healthier version without sacrificing flavor. These alternatives cater to different dietary preferences, such as lower sugar, reduced fat, or increased nutritional value.
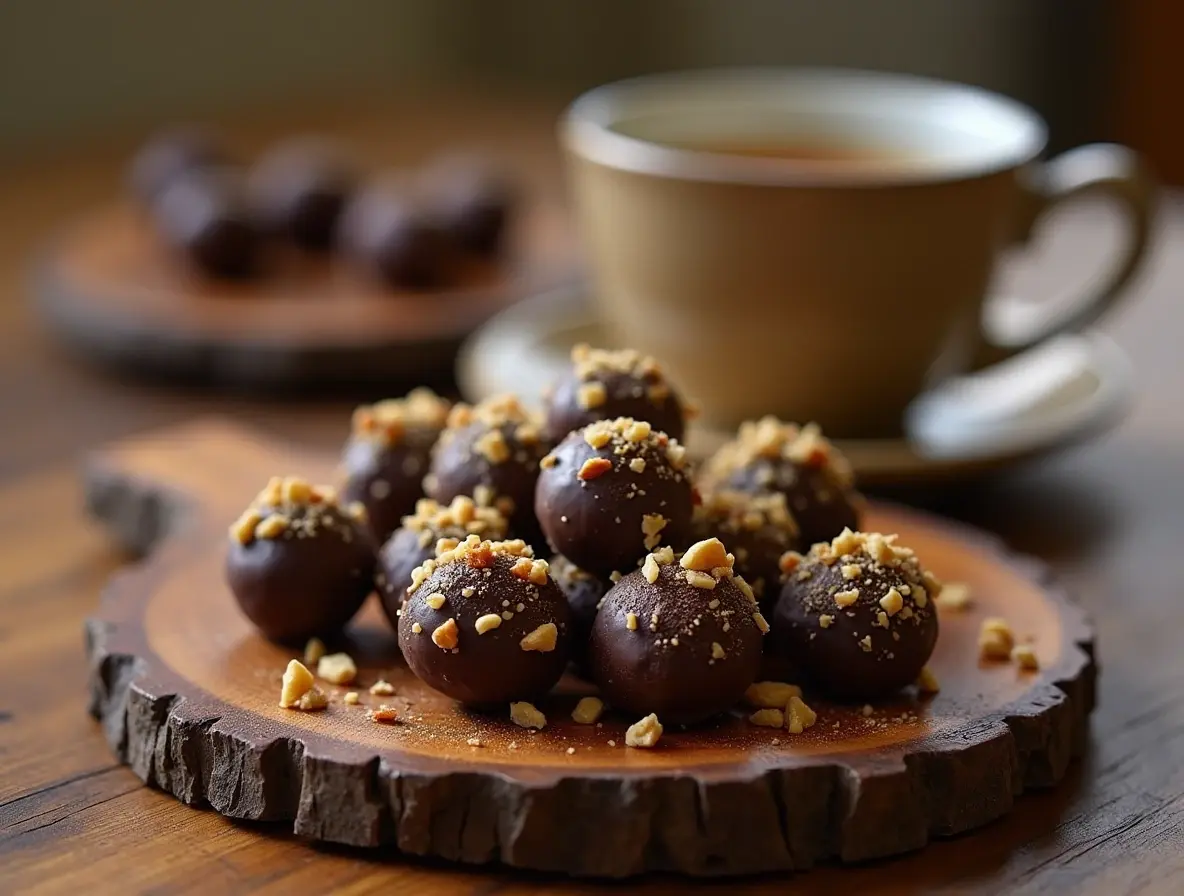
1 – Low-Sugar Butterfinger Balls:
To reduce the sugar content:
- Use sugar-free powdered sweeteners like powdered erythritol or stevia instead of regular powdered sugar.
- Opt for sugar-free or dark chocolate (at least 85% cocoa) for the coating.
- Choose a peanut butter variety that contains no added sugar or artificial ingredients.
This version satisfies your sweet tooth without the extra calories from sugar.
2 – High-Protein Butterfinger Balls:
Boost the protein content for a more satisfying snack:
- Add 1–2 scoops of vanilla or chocolate protein powder to the peanut butter mixture. Adjust the consistency with a splash of almond milk, if needed.
- Replace regular peanut butter with a high-protein peanut butter alternative.
- Coat the balls in crushed nuts instead of chocolate for a nutrient-packed finish.
This variation works well as a post-workout treat or a midday energy booster.
3 – Vegan Butterfinger Balls:
To make these treats vegan-friendly:
- Use dairy-free butter substitutes and chocolate made from plant-based ingredients.
- Choose a vegan powdered sweetener.
- Replace the Butterfinger candy bars with crushed cornflakes and a drizzle of maple syrup for a similar crispy texture and sweet taste.
This alternative ensures everyone, regardless of dietary preferences, can enjoy a delicious snack.
4 – Gluten-Free Butterfinger Balls:
For a gluten-free version:
- Check that the Butterfinger candy bars you use are certified gluten-free. Most varieties are naturally gluten-free, but always double-check labels.
- Use gluten-free powdered sugar to ensure the entire recipe stays within gluten-free guidelines.
This version makes the treats accessible for those with gluten sensitivities or celiac disease.
5 – Keto-Friendly Butterfinger Balls:
For a low-carb, keto-friendly version:
- Replace powdered sugar with powdered erythritol or allulose.
- Use sugar-free chocolate chips for the coating.
- Swap out Butterfinger bars with a homemade mixture of almond flour, unsweetened cocoa powder, and a touch of sweetener to mimic the flavor and texture.
This option allows those on a keto diet to enjoy a guilt-free dessert.
General Tips for Healthier Modifications:
- Portion Control: Make smaller balls to enjoy the treat in moderation.
- Natural Sweeteners: Use honey or maple syrup sparingly for a more natural sweetness.
- Sneaky Add-Ins: Mix in ground flaxseeds, chia seeds, or oat flour to boost the fiber content.
Balancing Health and Flavor:
When making healthier alternatives, remember that small changes can go a long way. These substitutions allow you to enjoy the essence of Butterfinger Balls while fitting them into your personal health goals.
Frequently Asked Questions About Butterfinger Balls:
Here are answers to some interesting and commonly asked questions about Butterfinger products and their unique characteristics.
Why were Butterfinger BB’s discontinued?
Butterfinger BB’s, the bite-sized version of Butterfinger candy, were discontinued in 2006. The company stated that they wanted to focus on other product lines, although fans have speculated that manufacturing and packaging challenges played a role. Despite their discontinuation, Butterfinger BB’s remain a nostalgic favorite for many candy lovers.
What is the orange stuff in Butterfingers?
The bright orange layer inside Butterfingers is a crispy peanut butter-flavored filling. It gets its color and texture from a combination of roasted peanuts, molasses, and cornflakes, creating the candy’s signature crunch and unique taste.
Are Butterfinger cups discontinued?
No, Butterfinger Peanut Butter Cups are not discontinued. While they may be harder to find in some areas, the product is still part of the Butterfinger lineup and continues to be enjoyed by fans.
What is the flaky stuff in Butterfingers?
The flaky texture in Butterfingers comes from the layered peanut butter-based filling. This filling is made by heating and folding a mixture of roasted peanuts, sugar, and molasses into thin, crisp layers that give the candy its distinct crunch and crumble.
Can I use Butterfinger cups for Butterfinger Balls?
Yes, you can crush Butterfinger Peanut Butter Cups and use them as a substitute for traditional Butterfinger candy bars. The flavor will be slightly softer and creamier, but it’s a delicious twist on the recipe.
What’s the best way to store Butterfinger Balls?
Store Butterfinger Balls in an airtight container:
- At room temperature for up to 3 days if the weather is cool.
- In the refrigerator for up to 2 weeks.
- In the freezer for up to 3 months for long-term storage.
Conclusion:
Butterfinger Balls are a delightful, no-bake treat that combines simplicity with the irresistible flavors of peanut butter, chocolate, and crispy candy. Whether you’re making them for a holiday gathering, as a gift, or just to satisfy a sweet craving, this recipe offers endless opportunities to get creative and have fun.
From their easy preparation to customizable variations, Butterfinger Balls are a hit with both kids and adults. By following the tips and tricks, experimenting with flavor options, or even trying healthier alternatives, you can tailor this dessert to suit any occasion or dietary preference.
So gather your ingredients, follow the steps, and enjoy the satisfaction of creating a homemade snack that everyone will love. Butterfinger Balls are sure to become a go-to recipe in your kitchen, bringing joy and sweetness to any moment.
